 Video Splitter
How to split a video into parts on iPhone
Quick answer: install the free Video Splitter app, choose your video, and pick By Parts (2 to 100 equal parts) or By Length (parts of 0:30, 1:00, 1:30 or any length you set). Tap Split and save the parts to Photos. Each part is its own video, numbered in order, in HD and with no watermark.
Why split a video into parts
Many apps limit how long a video can be: WhatsApp Status, Instagram Stories and X, for example, each stop at their own length. Other times a long video is simply hard to send, or to watch in one go. Splitting it into parts solves both.
The Photos app on iPhone can trim the start and end of a video, but it has no tool to cut one video into several parts in one go. With Video Splitter you choose how long each part should be, or how many parts you want, and you get them all at once, numbered and in order.
Two ways to split
- By Parts: a set number of equal parts, from 2 to 100. Use it to cut a video in half, in three, or into as many pieces as you need.
- By Length: every part gets the same length. Ready-made lengths: Quick clips (0:30), Stories (1:00), Status (1:30), Timeline (2:20), Short videos (3:00) and Long posts (5:00).
- Custom: any other length, from 3 seconds up to the whole video.
- Cut Here (Pro): pause where a part should end and tap Cut Here to place that cut by hand.
What you need
- An iPhone with iOS 18 or later
- Video Splitter, free on the App Store
- The video in Photos or the Files app (or record it in the app)
Step by step
-
Step 1: Choose your video
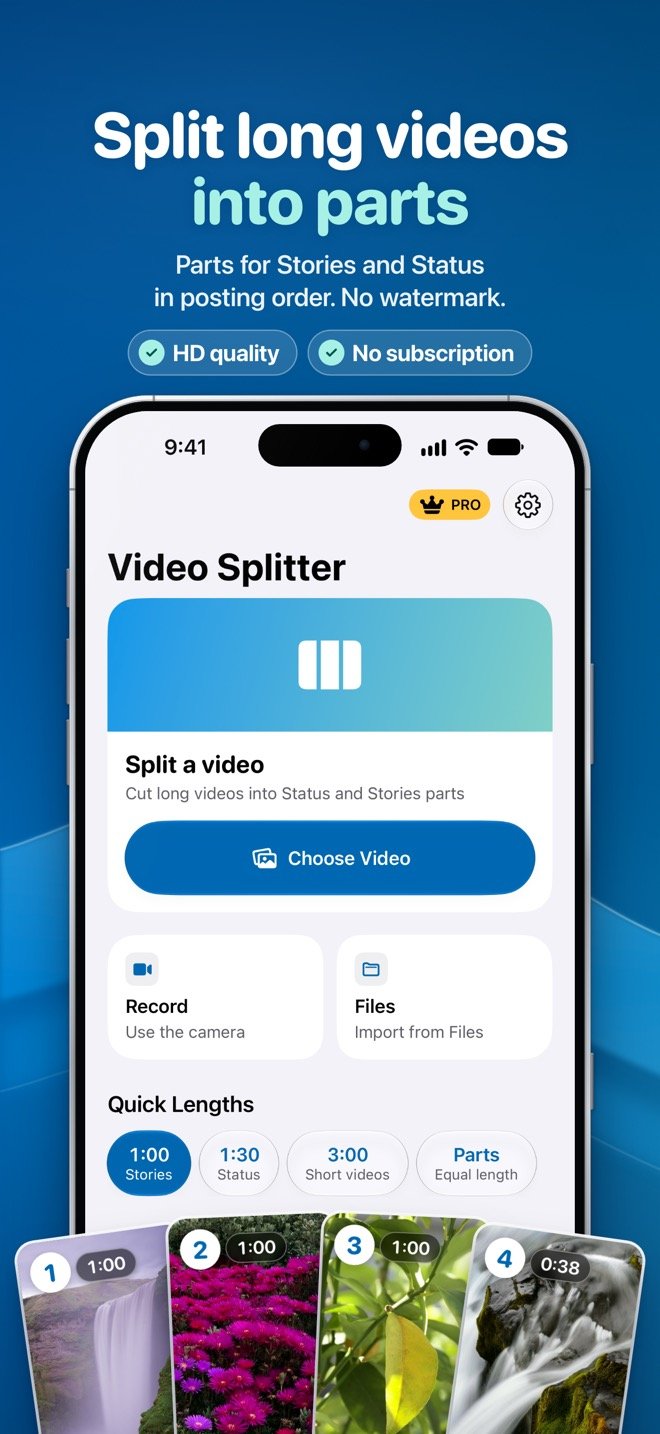
Open Video Splitter and tap Choose Video to pick it from Photos. You can also tap Files to import from the Files app, or Record to film a new one (up to 30 minutes). Videos are imported without compression. Shortcut: tap a quick length on the Home screen first, then choose the video. You can also share it from Photos: tap Share and choose Video Splitter.
-
Step 2: Choose By Parts or By Length
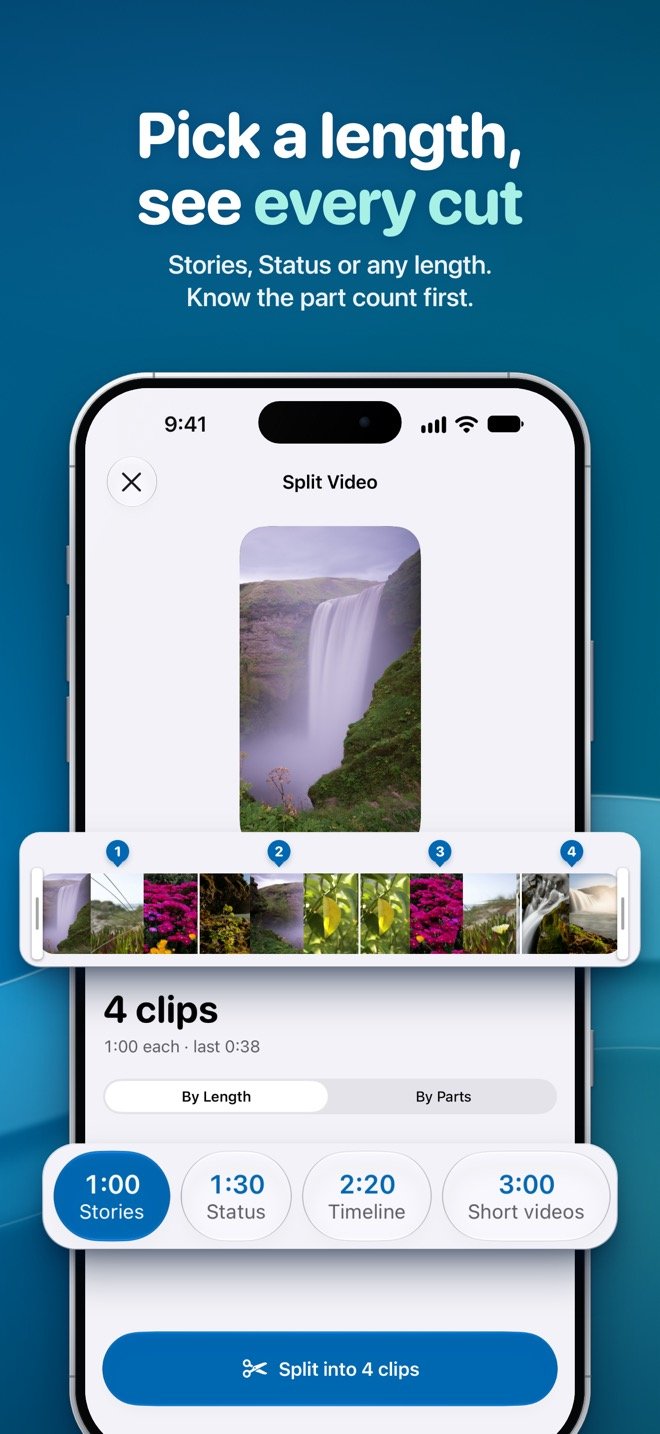
In the editor, tap By Parts and choose how many you want, from 2 to 100: every part gets the same length. Or stay on By Length and tap a ready-made length such as Stories (1:00), or Custom to set any other length with the slider or the +/- buttons, from 3 seconds up to the whole video. The preview shows right away how many parts you'll get, how long each one is and where every cut lands on the timeline.
-
Step 3: Trim the start or end (optional)
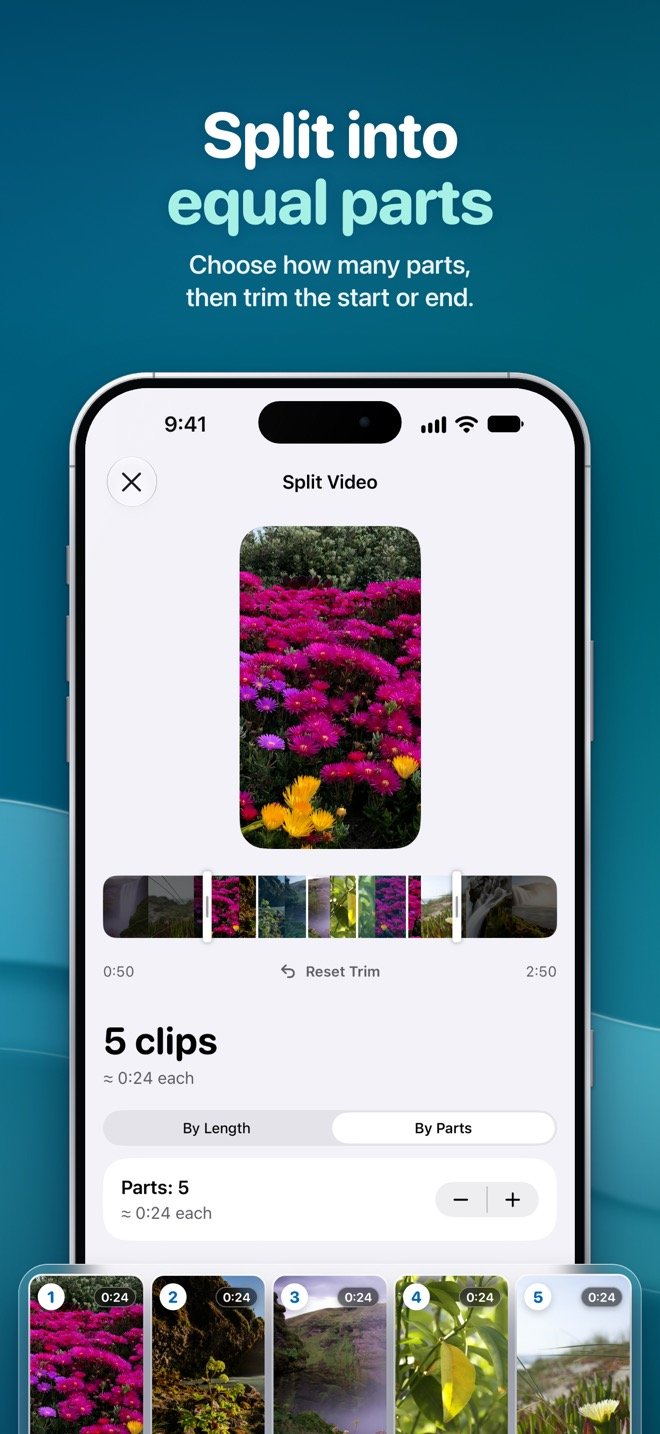
Drag the ends of the timeline to leave out a slow start or ending. Only what is between the two ends gets split, and the preview updates as you drag.
-
Step 4: Tap Split
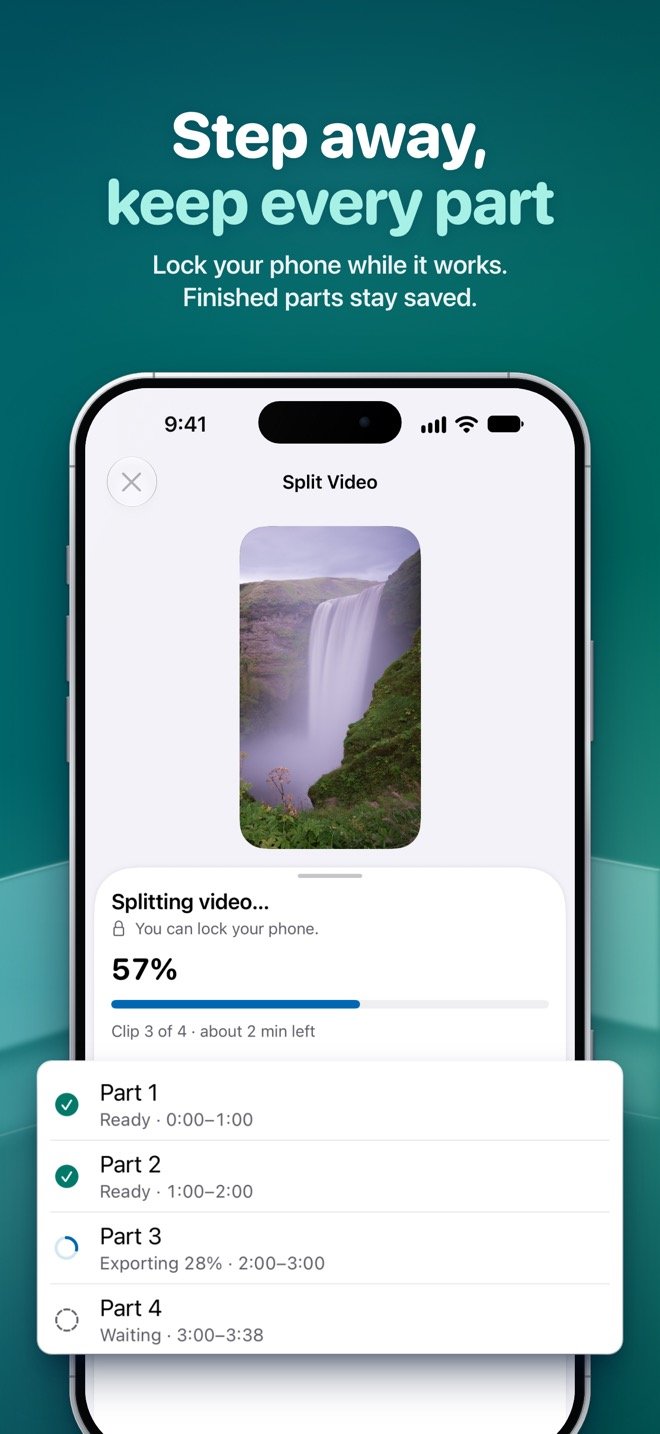
Tap the Split button, which shows how many parts you'll get. You'll see progress for every part. If one fails, tap Retry or Skip; the finished parts are kept, and if you cancel, you can choose to keep them. On iOS 26 or later, splitting can keep going while your screen is locked, when iOS allows it.
-
Step 5: Save the parts to Photos
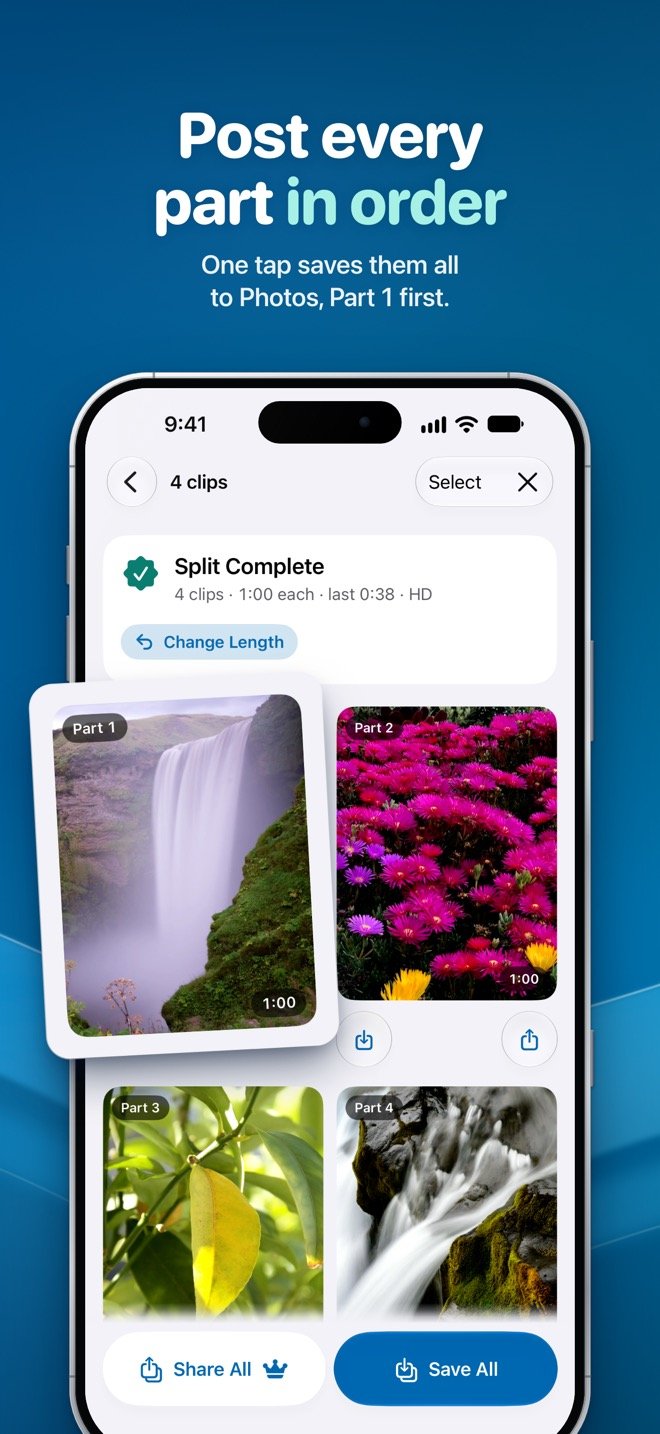
On the results screen, tap Save All to add every part to Photos in posting order, Part 1 first. Your first Save All is free; after that it's part of Pro, or you can save each part on its own for free.
-
Step 6: Share or post the parts
Open the app where you want to use them and pick the parts from your recent videos, starting with Part 1. You can also share any part straight from the results screen.


Tips for the best result
- No tiny leftovers: if the last part would be shorter than 3 seconds, it's balanced with the one before it, so you never get a leftover clip of a couple of seconds. For pieces of exactly the same length, use By Parts.
- Keep the order clear: Save All adds the parts to Photos Part 1 first, with file names like Part 01 of N, Part 02 of N and so on. With Pro, you can also put a number like 1/5 on the video itself so viewers know where they are.
- Don't cut words in half: Pro's overlap repeats up to 3 seconds from the end of each part at the start of the next, and smart cuts move each cut to a nearby pause in speech. Or pause where a sentence ends and tap Cut Here (Pro): the part ends right there, and the parts after it adjust.
- Quality: the free HD export goes up to 1080p at your video's own resolution. For 4K or HDR originals, Pro's Original quality keeps the 4K and HDR, and lossless export cuts without re-encoding.
- Storage: splitting needs free space on your iPhone. If it runs out, splitting pauses: free up space and tap Resume, and finished parts are kept.
- Post again later: your recent splits stay in the app for 7 days, so you can save or share them again.
Frequently asked questions
Can the Photos app split a video into parts?
Photos can trim the start and end of a video, but it has no tool to cut one video into several parts in one go: you'd have to trim it and save each piece as a new clip, one by one. Video Splitter makes every part at once and keeps them in order.
How do I split a video into two equal parts?
Switch to By Parts and choose 2. Both halves get the same length, and the preview shows where the cut lands before you split. It works the same for 3, 4 or up to 100 parts.
Is there a limit on the video's length or the number of parts?
There's no maximum length for imported videos and no daily limit. You can make 2 to 100 equal parts, or parts of any length from 3 seconds up.
Will the parts lose quality?
The free version exports in HD, up to 1080p at your video's own resolution. Pro adds Original quality, which keeps 4K and HDR, and a lossless fast export that cuts without re-encoding.
Is it really free, with no watermark?
Yes. Splitting, HD export and saving or sharing single parts are free, with no watermark, no ads and no daily limits. Your first Save All is free too.
Do I need to keep the app open while it splits?
On iOS 26 or later, splitting can keep going in the background while your screen is locked, when iOS allows it. On earlier versions it pauses when you leave and continues when you come back. Either way, the parts already finished are kept.
More guides
Ready to split your video?
Video Splitter is free on the App Store for iPhone (iOS 18 or later).